
Updated: Category: Website
I decided to use Github Codespaces as my IDE. It is Visual Studio Code hosted in the browsers connected to a cloud-hosted VM that runs the devcontainer with the development environment.
 Codespaces are cloud-hosted Github’s devcontainers accessible from VS Code (image belongs to Github Docs).
Why Codespaces?
Using devcontainers is the modern approach. The benefits are obvious. No need to install anything locally, all dependencies are available, and git flow is integrated. I can access it from anywhere, on any device (although preferably a proper dev setup with multiple monitors).
It is also a good option to experience working with devcontainers an as engineer. Github’s engineering team has moved to using Codespaces a few years ago. DevContainers are definitely the way to go as they remove all the hustle with setting up development environments. It is Docker for developers. I am though a bit skeptical using Github Codespaces for professional development, but for a private venture this would be sufficient.
It comes with some drawbacks though. I can only use up to three Codespaces environments, for example if we want to work with multiple branches at the same time (e.g. for prototyping). I need internet, which means that working with Codespaces during travel may not always be possible. Integration with tools that Github does not natively support may be a challenge and require effort to configure or workarounds. It limits the possibility to customize the development environments.
Setting up Codespaces
I used Codespaces to create this website (see the blog series how I did that). The setup was easy.
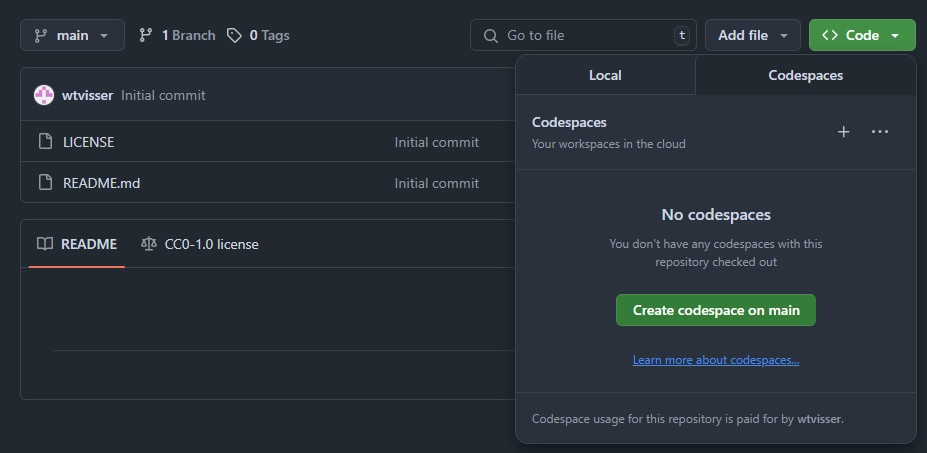
Create a Codespaces environment
I created the Codespaces environment from the Github repo using the Code menu and click Create.
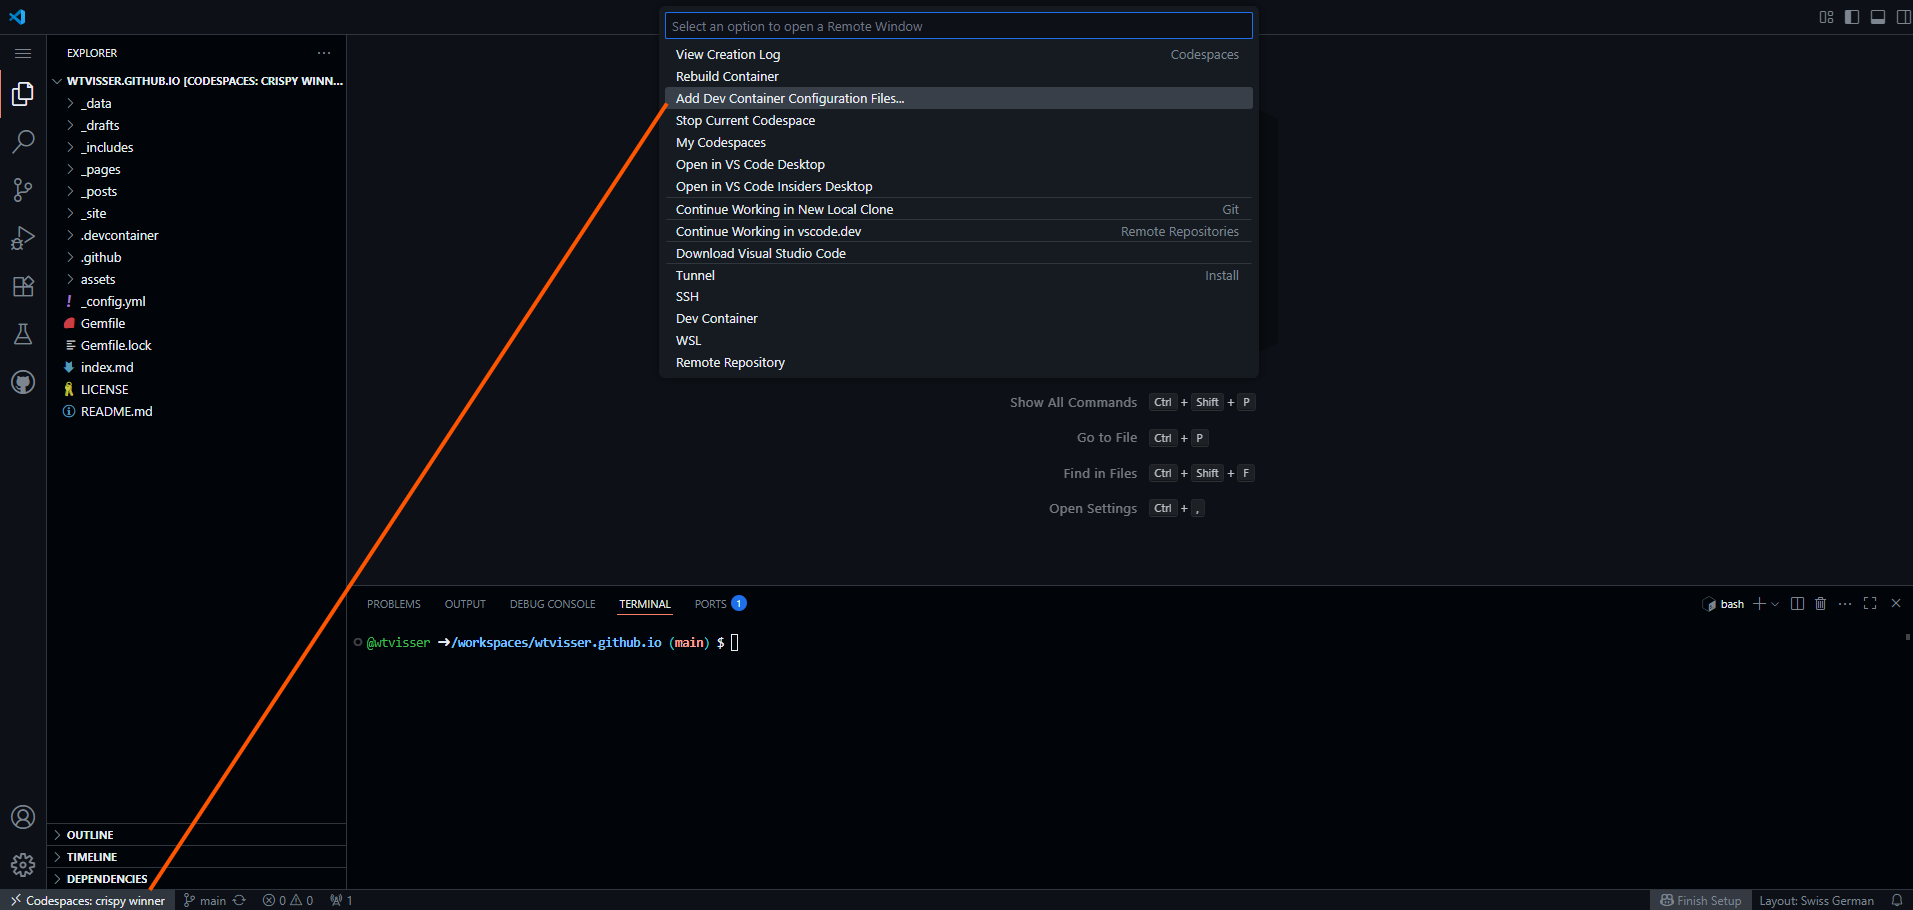
Add a devcontainer
Next, I added a devcontainer to the environments using the command palette. Click the Codespaces button in the bottom-left corner of the IDE and run the Add Dev Container Configuration Files option. I selected New Configuration.
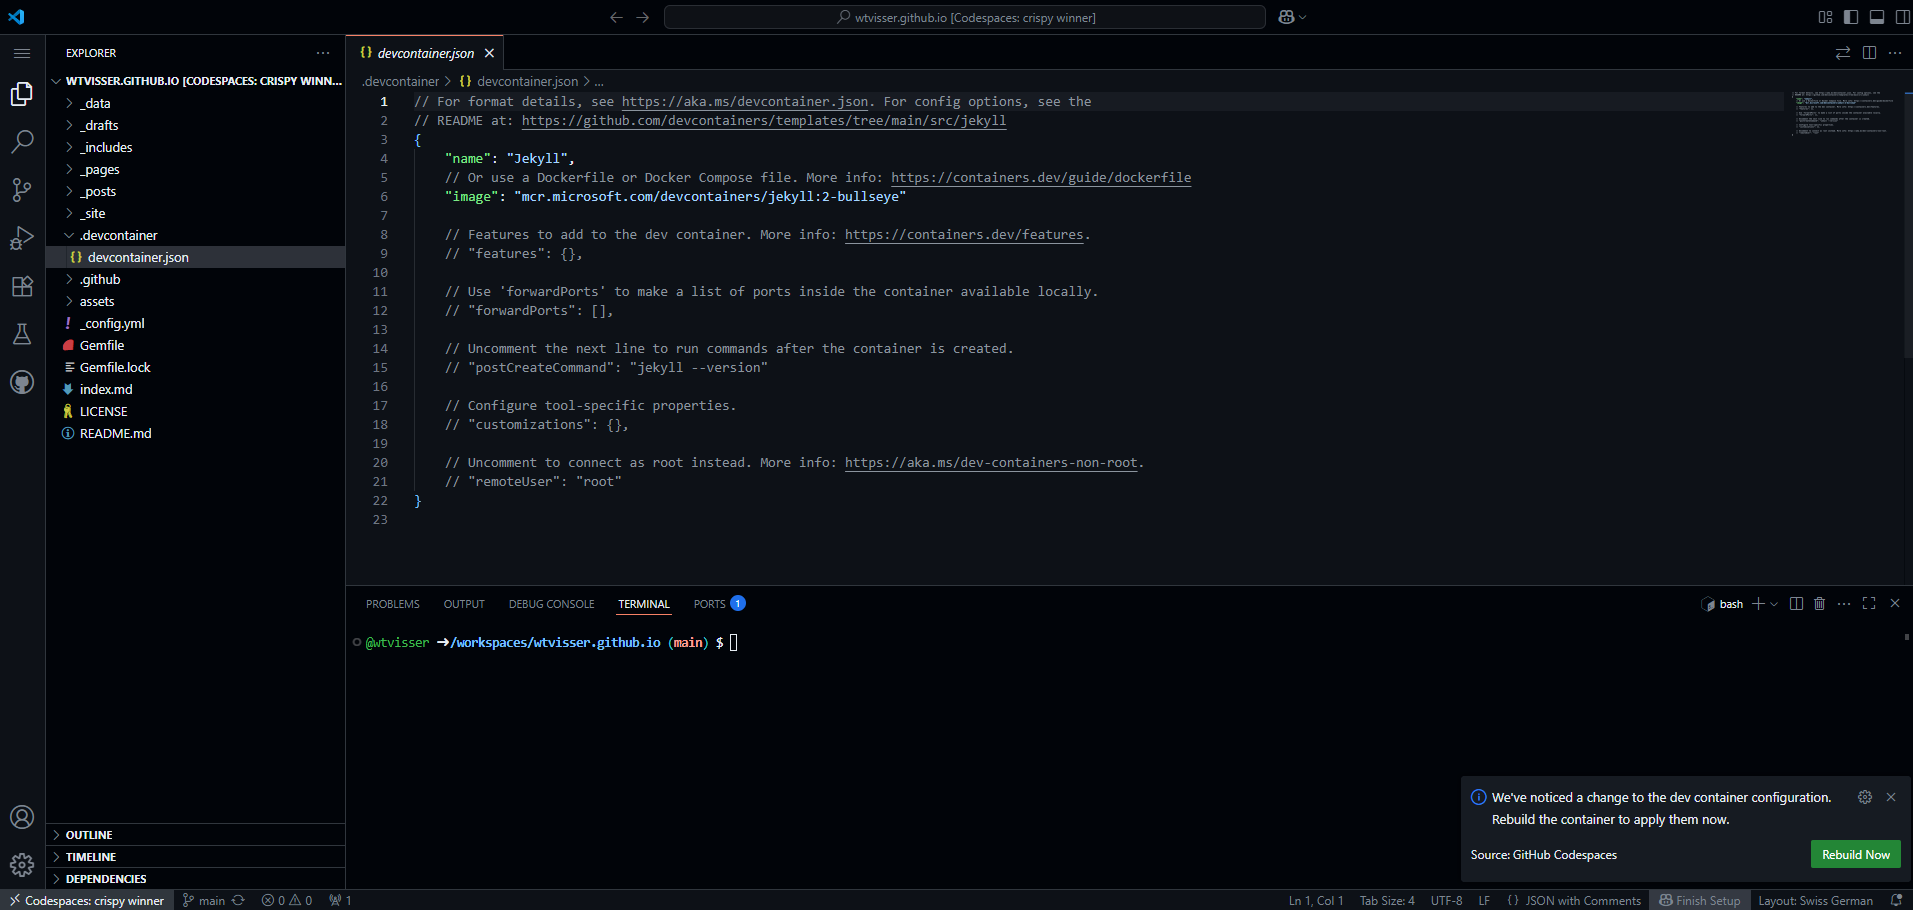
I chose the Jekyll devcontainer as configuration and the default bullseye Debian OS. I didn’t install any additional features.

Next, I rebuild the container when Codespaces prompts it.
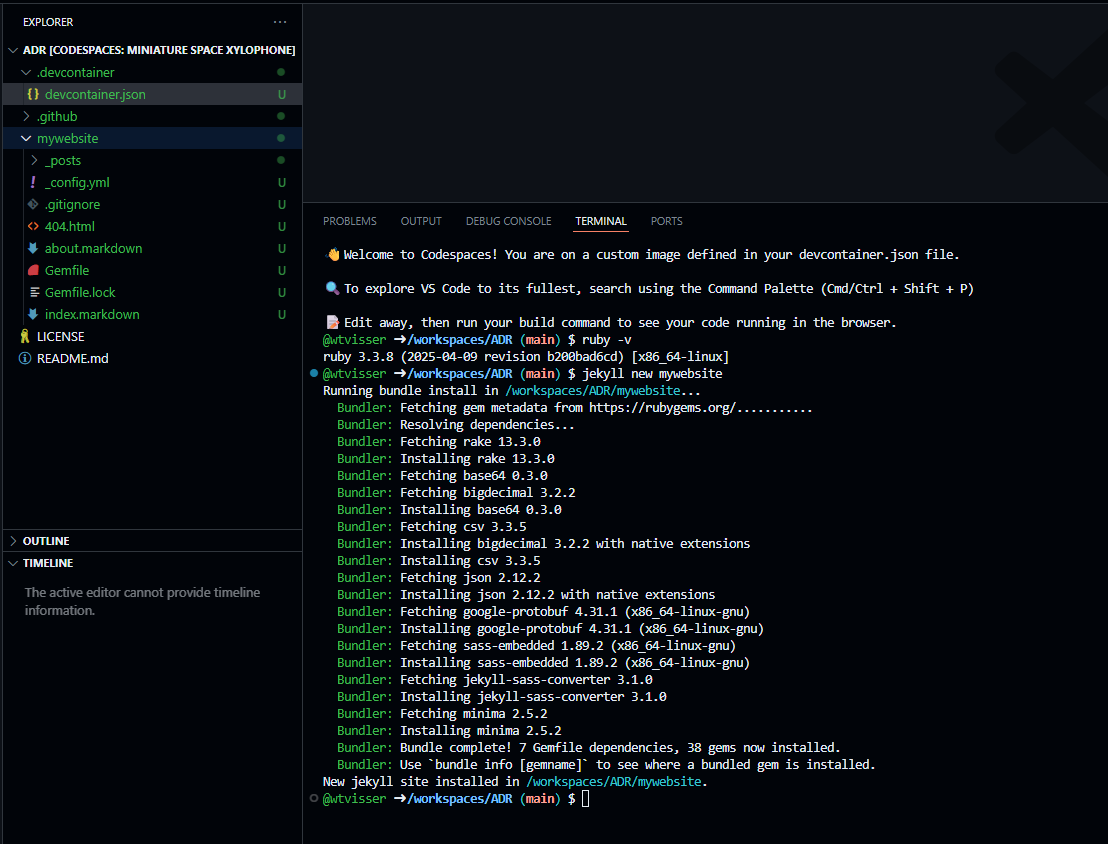
With the development environment available, I could create a new Jekyll website in Codespaces and add additional gems.
Run as localhost
You can give the website a test by running it as localhost in Codespaces using bundle exec jekyll serve.
Important: I had to move the website files from /mywebsite/ to the repository root so that Github Pages could find it during build. I haven’t found a way to configure the build to target a custom directory.
Important: I had to move the website files from */mywebsite/* to the repository root so that Github Pages could find it during build. I haven't found a way to configure the build to target a custom directory.
This blog series
This blog is part of a larger series: